Last fall we did something completely unnecessary and bought a 22 year old camper for $1,000 off Facebook Marketplace. Well, we are finally done with the pop up camper remodel and so excited to share the details!
If you don’t know the whole Penny the Pop Up story, you can start by reading this post or listening to this podcast episode we recording sharing the details. On that episode, we talked about why we decided to buy a used pop up camper even though we already own a brand new toy hauler. We also shared all the details on what we were looking for, and how we found such a great deal.
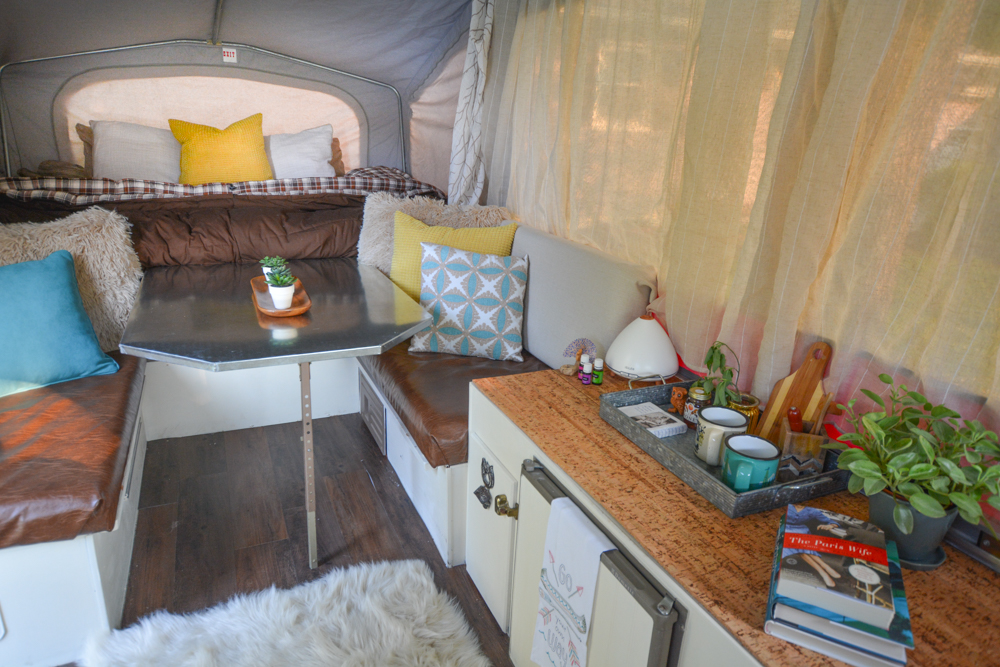
So now for the fun part…Penny is all spruced up and ready for her debut!!!
But before we dive into the nitty gritty details, I want to share some of the guidelines that I tried to stick to for this project.
Penny the Pop Up Camper Remodel Rules
You’ve probably seen a lot of amazing vintage camper remodels on social media. Folks ripping out the walls and floors, insulating and rewiring, and building custom furniture that updates the interior while remaining true to the original time period.
This is NOT that kind of story.
A used pop up camper isn’t an investment. It’s made primarily of canvas and designed to fold up into a teeny, tiny box. You can invest in a vintage Airstream. You can’t invest in a pop up camper.
So the first goal was to keep the project simple and cheap. Even though I was tempted to splurge on materials, I tried to stay true to this being a budget-friendly project.
My next guideline was that everything had to be durable. Yes, I dream about solo camping getaways without any dirty boys in sight. However, we also plan on camping as a family in this used pop up camper and it has to hold up with all five of us, plus sweet Maggie the Camping Dog.
And finally, I was determined to be happy with good enough. Trying to pretty up an old pop up camper could get hairy. I knew I didn’t want this to be a frustrating, never-ending project. I wanted to get it done, and move on to the camping part.
What Did We Rip Out?
Here’s a quick reminder of what she looked like when we brought her home…

Ugh.
This used pop up camper was in great shape structurally, which is why we bought her in the first place. Basically, we planned for a mostly cosmetic project.
So I disconnected the propane heater, because I’m not interested in worrying about an old propane system. It makes me nervous, and there is no reason for it since electric space heaters work just as well these days.
I also pulled out the flip-over sink and stove countertop. Penny is more of a comfortable tent for us, and we will do all of our cooking and dish washing outside when camping with her. A solid countertop surface would be much more useful for us.
There was a large and ridiculously useless cabinet to the right of the pop up entry door. Even though it took up a ton of floor space, it hardly offered any useful storage. So that had to go also.
And lastly, the curtains. Those maroon and green floral curtains that took us right back to the nineties and not in a good Counting Crows/ Smashing Pumpkins kind of way.
Painting

When I first posted pictures on Instagram of the painting project, the internet flipped out. People couldn’t believe I was just slapping paint onto the front of the refrigerator. Well, clearly they don’t know the magic of Annie Sloan’s Chalk Paint. It’s not cheap, but I found out it’s worth every penny. I only needed one can to apply two coats. Then I used one can of Annie Sloan’s Clear Wax to finish it off.
Flooring
My crafty neighbor recently used peel and stick vinyl flooring in her basement, and we decided it would be perfect for Penny the Pop Up. It took us about 2 1/2 hours to install it, and mostly that is because nothing is square in a used pop up camper. This was such an affordable option, costing about $35 total. You can buy the vinyl planks individually which is amazing for such a small space.
Upholstery
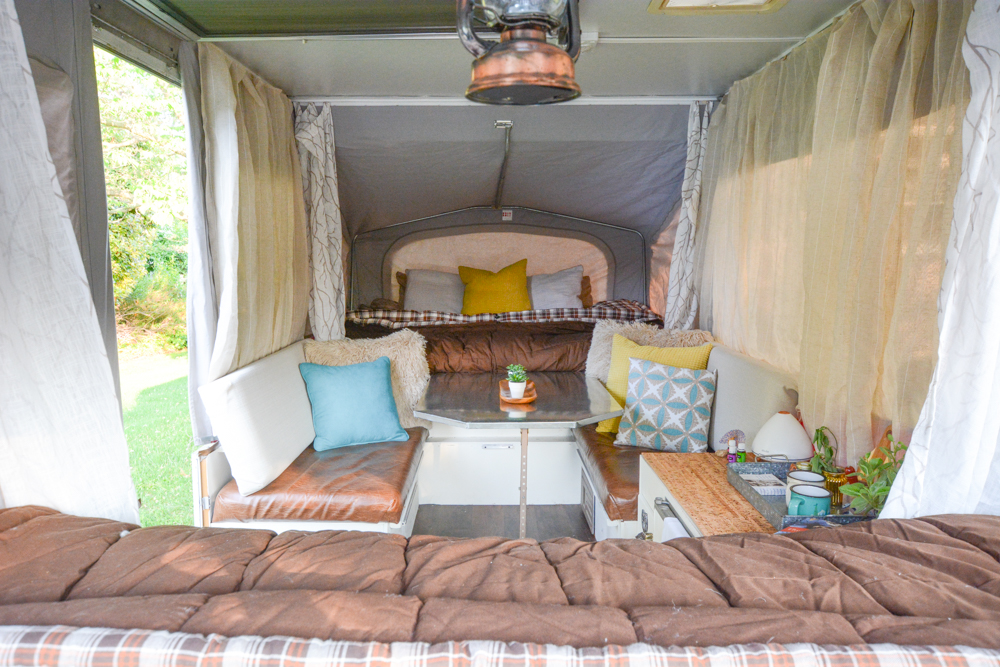
My original plan was to splurge and get the dinette cushions professionally reupholstered. Well, a little fabric measuring mishap pushed me in the DIY direction. I ended up (under the strict supervision of Crafty Sarah) getting custom cut plywood and inserting the wood into the cushion covers along with the foam. Then we used a staple gun to ‘wrap’ the cushions.
Honestly, I’m glad I saved the money. But I do wish I hadn’t been so determined to use fabric when I didn’t have enough. It probably would have been smarter to cut my loses and go buy new fabric in sufficient quantity.
One of my favorite things about this method is that I can just easily change it up in the future. It will be easy to wrap the cushions in new fabric if the fancy strikes.
Curtains
Again, I sincerely thought about taking some fabric to a seamstress and letting her whip me up some new curtains. And again, I decided to go the budget route. I bought curtain panels from Marshall’s and simply cut off the top grommets and stitch witched the seam. It was an easy project that I did one night while watching reruns of Top Chef. Win/win.
Bedding
The very first time I camped in Penny, I used the Cabela’s sleeping bags that we already owned. Boy oh boy are they the coziest things under the sun. So, the color of these sleeping bags is not exactly what I wanted when I designed Penny in my head. However, the very pragmatic part of me is dying at the thought of buying new bedding when this is what I really want to cozy up under every night for the rest of my life. I’ll keep you posted on my psychological tug of war.
Dinette Table
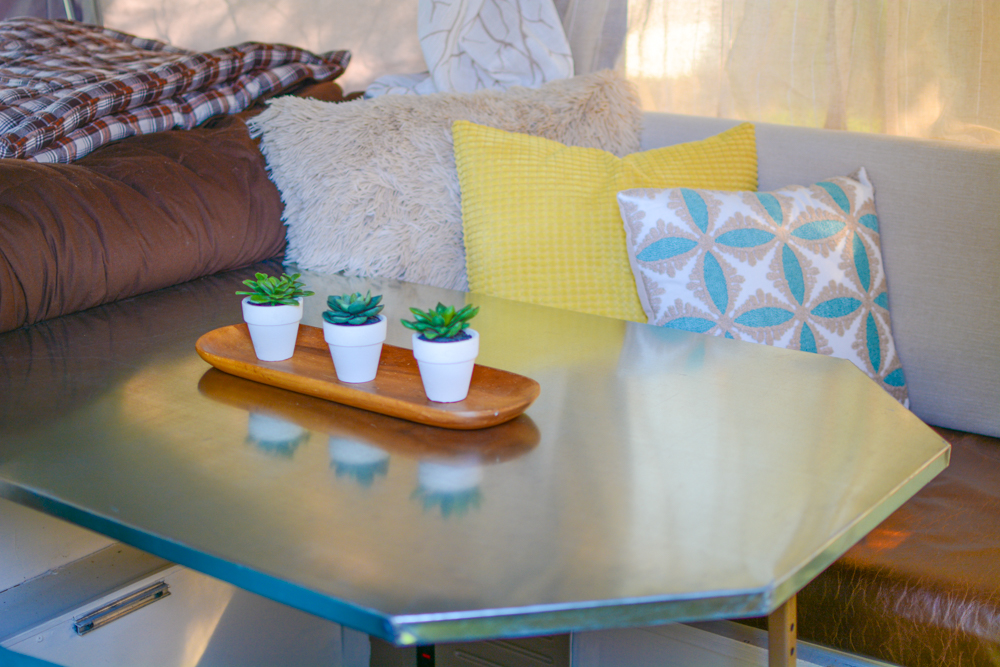
This is my very favorite thing in our sweet little used pop up camper. We took the original table with cheap (but durable!) vinyl top and wrapped it with galvanized steel. Or rather, I should say I found someone else to wrap it in galvanized steel. I actually carried the table down to a metal worker at our local marina and he had it done in a couple of days. I’m completely in love with what it does to the light coming in from all those windows.
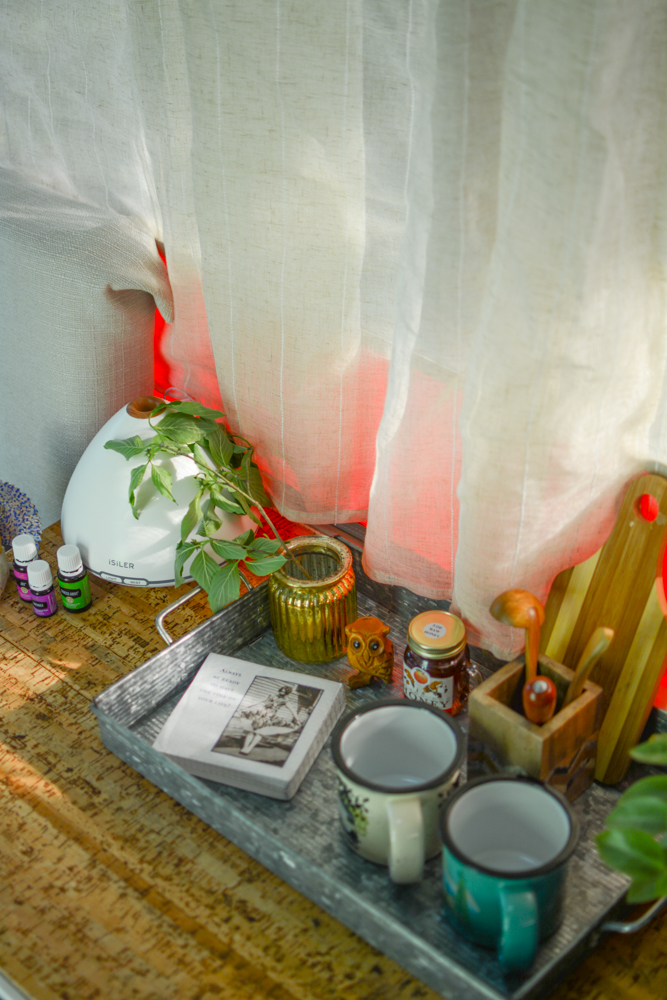
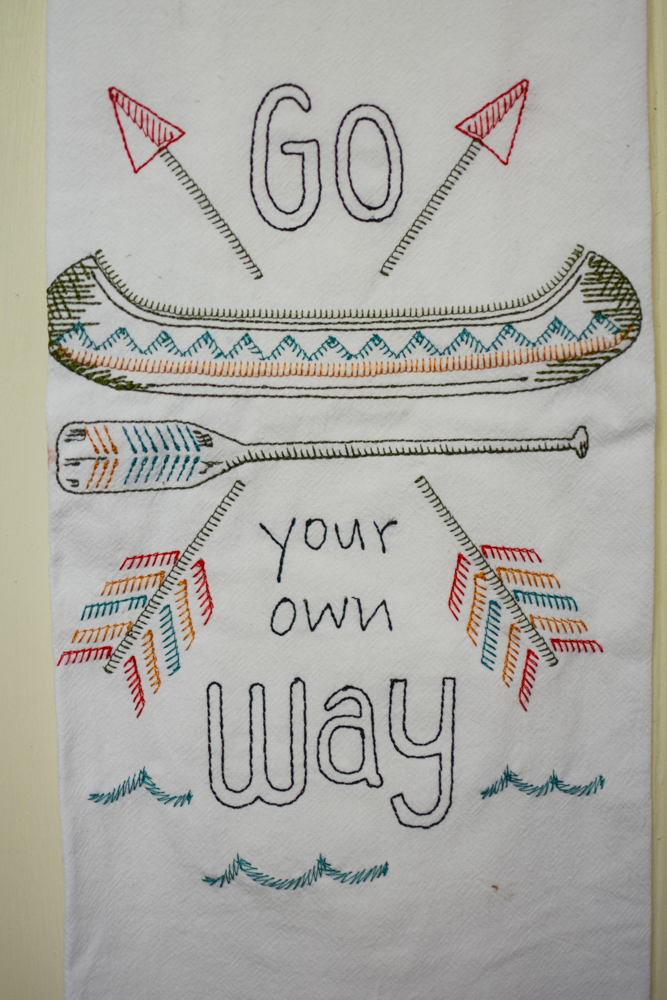
A few other decorative details are very special to me. Just when I was putting the finishing touches on Penny, a package arrives from the lovely Kate Dunbar, our Texas correspondent. She sent along some lovely items that worked perfectly in the space. I love having these things that remind me of the amazing relationships we have developed through our podcast.

It was, of course, incredibly hard for me to find the time to work on Penny. I’m actually glad I had a deadline since we had promised to display the pop up at a Cabela’s event in April. That certainly lit a fire under me that I needed.
However, I’m also incredibly happy that I undertook this used pop up camper remodel. It’s so easy to get stuck in a rut, especially as a busy, working mother. It felt great to push myself to learn new things and step out of my comfort zone. Thankfully, I had a great friend to hold my hand along the way.
Will this be the first of many used pop up camper remodel projects? I say probably not, but Jeremy seems to think otherwise.
Only time will tell.
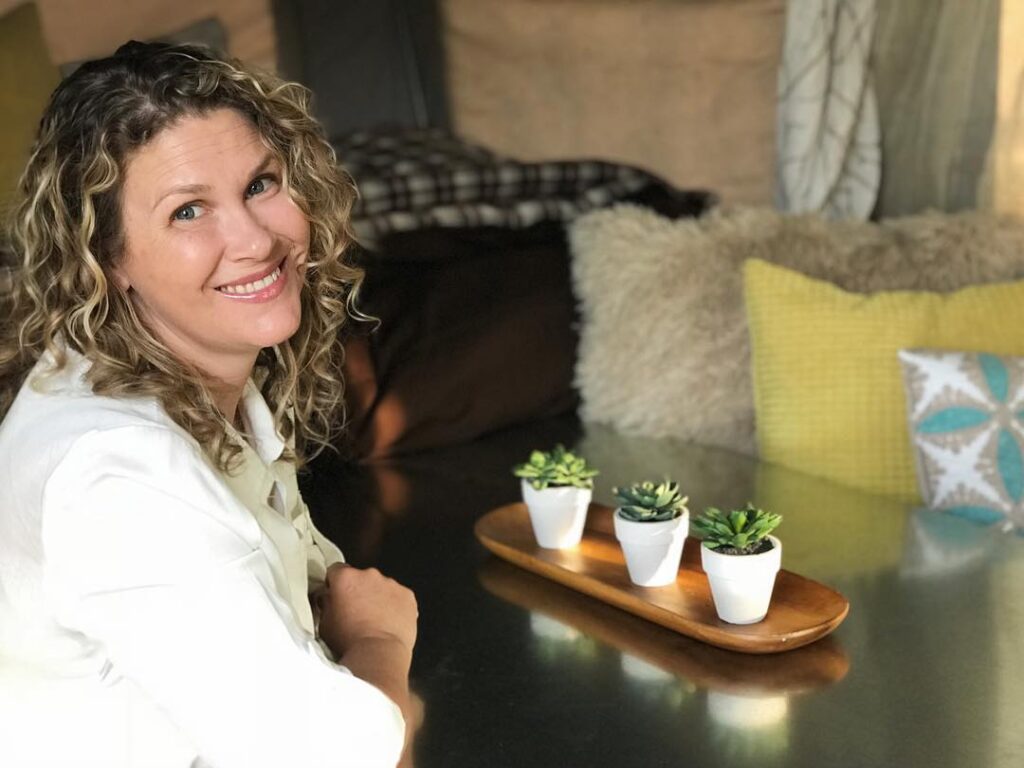
See you at the campground,
Stephanie
P.S. If you are thinking about buying your own used pop up camper, check out why we think it’s a great idea for almost anyone!
A big thanks to Truma for sponsoring this episode of RV Family Travel Atlas. Visit Truma.net to learn more about upgrading your RV water heater!